

October 23, 2020
Creating the Perfect Pumpkin Pie is a Family Affair
- Pumpkin Pie is a delicious finale to any Thanksgiving dinner. This week we are planning our upcoming Buckhorn Inn Thanksgiving feast and fondly reminiscing about Thanksgivings past. Here is Sharon’s memory of her first Thanksgiving after she and Jack moved from Chicago.
I was so delighted to be part of the Buckhorn Inn family and was eagerly looking forward to Thanksgiving. I love to bake, so I was excited when Lee asked if I would help out by baking a few desserts for the feast. I pictured myself bustling about in an apron, my kitchen fragrant with fall spices. Perfect! When the menu was finalized, I was in charge of baking six pies–three apple and three pumpkin.
Family to the Rescue
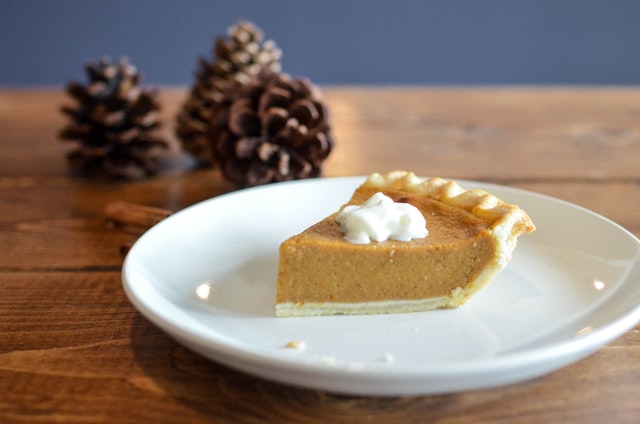
This recipe is rich and creamy with a hint of spice.
Pie crust has long been my nemesis. My mother makes perfect pie crusts–light, tender, flaky and delicious. I follow her recipe carefully, but my results are inconsistent. I watch my mother’s deft hands as she quickly and confidently rolls out her crusts. I don’t think I inherited her “dough touch”!
I was worrying aloud about my pies to my sister-in-law Donna. I know my brother would have married her anyway, but the fact that she is a great cook certainly sweetened the deal for him! She said, “Sis, don’t worry about a thing. I have a recipe for pie crust that has never failed me.” She wrote out the recipe and I hurried home to make some practice pies. Success! If you would like the recipe for Donna’s crust, check out her blog https://faithhopefarm.wordpress.com/2020/10/23/a-time-to-give-and-a-time-to-share-a-pie-crust-recipe-story/ Her blog shares the story of how a “town girl” like her adapted to life on a farm. She shares recipes, craft ideas, garden inspirations, and farm anecdotes. You might enjoy following her!
Here is the recipe for my pumpkin pie filling. It is rich, creamy, and has a hint of bourbon. This recipe makes one pie and is delicious topped with copious amounts of whipped cream.
Sharon’s Pumpkin Pie
8 ounce package cream cheese, softened
2 cups canned pumpkin
1 cup sugar
1/4 teaspoon salt
1 egg plus 2 egg yolks, slightly beaten
1 cup half-and-half
1/4 cup melted butter
1 tablespoon bourbon
1 teaspoon vanilla extract
1/2 teaspoon ground cinnamon
1/4 teaspoon ground ginger
1/4 teaspoon nutmeg
1/8 teaspoon ground clove
Donna’s No-Fail Pie Crust
Preheat oven to 350 F. Place pie dough in a 9-inch pie pan and press down on bottom and sides. Pinch and crimp edges. Put the shell in the freezer for an hour to firm up. Line the frozen shell with foil and fill with pie weights or dried beans. Bake for 10 minutes, remove the foil and weights and bake for another 10 minutes. The crust should be dried and just beginning to color.
Beat cream cheese. Add pumpkin and beat until combined. Beat in the sugar and salt. Add egg and yolks, half-and-half and melted butter, beat until combined. Add the remaining ingredients and beat until incorporated.
Pour the filling into the warm pie crust and bake for 50 minutes. The center should be set. Cool to room temperature before cutting.
We hope you enjoy this pie and that you have a beautiful autumn!
October 5, 2020
Most Delicious Cookie, Bar None!
Are you a bar cookie fan? Cookies and brownies of all kinds are popular afternoon treats at Buckhorn Inn. But fall makes us yearn for a sweet date filling, crunchy nuts, and a buttery cookie crust. This recipe was inspired by one found in “Easy Entertaining” by Marlene Sorosky. The cookbook is available on http://www.amazon.com. The addition of prunes adds a chewy texture to the sweet dates. The recipe below makes about 24 bars.

Dates and prunes add natural sweetness to these delicious bars.
Butter-Crust Date Bar Cookie
Crust Layer
1 1/4 cups all-purpose flour
1/3 cup granulated sugar
1/4 pound butter, cold and cut into 8 pieces
Fruit-Nut Layer
1/2 cup packed light brown sugar
1/4 cup granulated sugar
2 large eggs
1 teaspoon vanilla
2 tablespoons all-purpose flour
1 teaspoon baking powder
1/4 teaspoon salt
1/4 teaspoon ground nutmeg
1 cup chopped walnuts
2/3 cup chopped pitted dates
1/3 cup chopped prunes
Confectioners sugar for sprinkling on top
Preheat oven to 350 degrees. Line a 9 x 13-inch baking pan with heavy foil. The foil should extend over the sides of the pan. Butter the bottom. For the crust, pulse flour, sugar and butter in a food processor until crumbly. Press into the bottom of the prepared pan. Bake for 16 minutes until the edges are lightly browned.
Make the fruit and nut layer while the crust bakes. In food processor mix sugars, eggs and vanilla until frothy. Add flour, baking powder, salt, and nutmeg. Mix until incorporated. Pulse in nuts, dates, and prunes until well combined. Spread the topping over the hot cookie dough. Return to oven and bake 15 to 17 minutes. The top should be golden. Remove from oven and cool to room temperature. Use the foil to lift out the cookies. Place on a flat surface and cut into bars. The cookies may be stored at room temperature, tightly covered, for several days or frozen. Before serving, sift confectioners sugar over the top.
September 8, 2020
A Honey of a Recipe
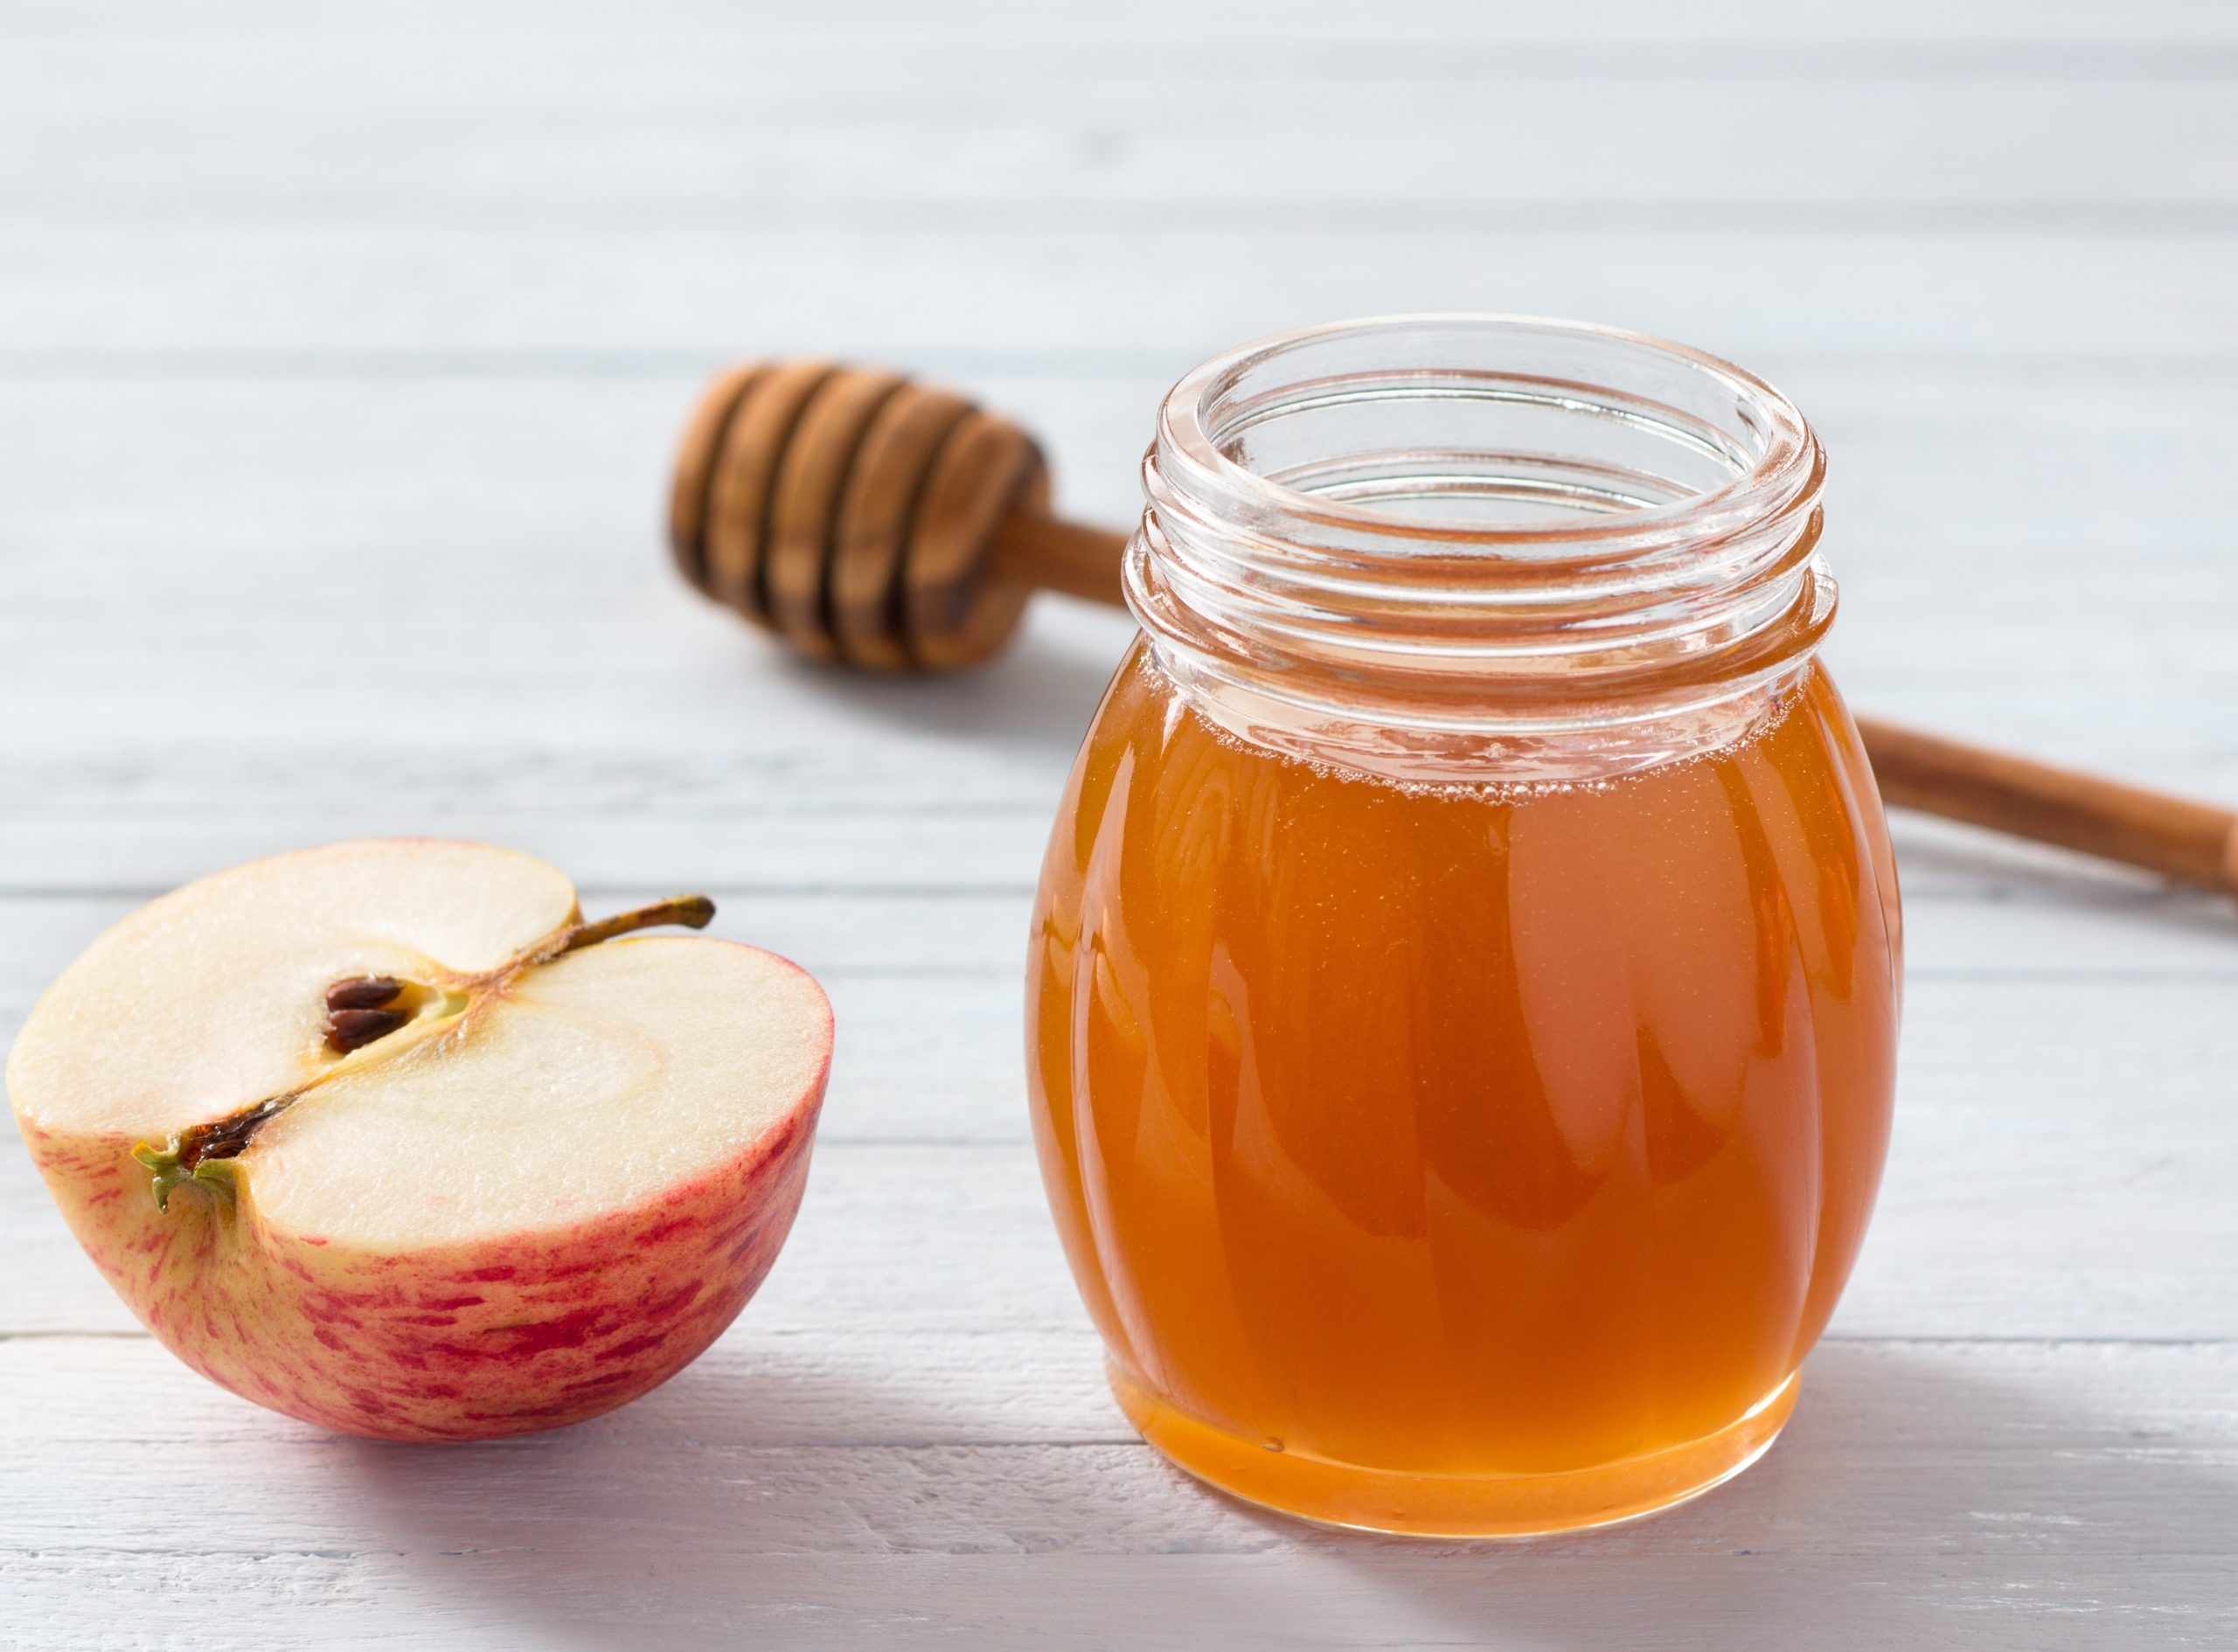
Apples and honey on a wooden background
Honey-Glazed Roast Pork with Glazed Apples
Thinking about honey reminded me of a dish I had at a Boston restaurant one fall.
We spent a crisp, sunny afternoon walking the Freedom Trail and ended up at charming little restaurant. The special was a pork roast glazed with honey and cooked with fragrant apples. This recipe is very similar to that dish. Cider would be delicious with this! If you prefer wine, I would suggest an off-dry, fruity, low tannin wine to pair with this dish. Perhaps a chardonnay or a pinot noir. It makes four sweet and savory servings.
Honey-Glazed Roast Pork with Apples
2 ½ lb. pork loin roast, tied
2 tablespoons honey
4 sprigs rosemary
4 sprigs thyme
6 tablespoons unsalted butter, cubed
2 medium yellow onions cut into 8 wedges each
2/3 cup dry apple cider
5 tart apples, cored and quartered
Preheat oven to 350 degrees. Place the pork in a large roasting pan and season with salt and pepper. Drizzle the honey over the pork, then arrange the herbs on top. Scatter cubes of butter over the pork. Arrange the onions around the pork. Pour the cider into the pan and bake until a thermometer reads 120, about 45 minutes. Scatter the apples around the pork and bake until the fruit is tender and the pork is golden brown. The thermometer should reach 160. Remove from the oven and let rest for 20 minutes. To serve, cut the pork into slices and serve with the baked apples and onions. Drizzle with pan juices before serving.
August 25, 2020
Cherry Tomatoes Fresh From Buckhorn Inn Garden
Don’t you love those luscious, sweet, end-of-summer cherry tomatoes? They pop in your mouth with such bright flavor. We have grown several varieties of these small tomatoes here at Buckhorn Inn. One of the most prolific this year was our heirloom Yellow Pear tomatoes. They fruit is bright yellow and they are deliciously tangy. We also have had great success with Shimmer, Honeycomb, Napa Grape, Mighty Sweet, and Black Pearl. They look beautiful served together in a salad! Our chefs also have enjoyed using them in “farmer’s omelets” showcasing our garden-fresh veggies. http://www.burpee.com/vegetables
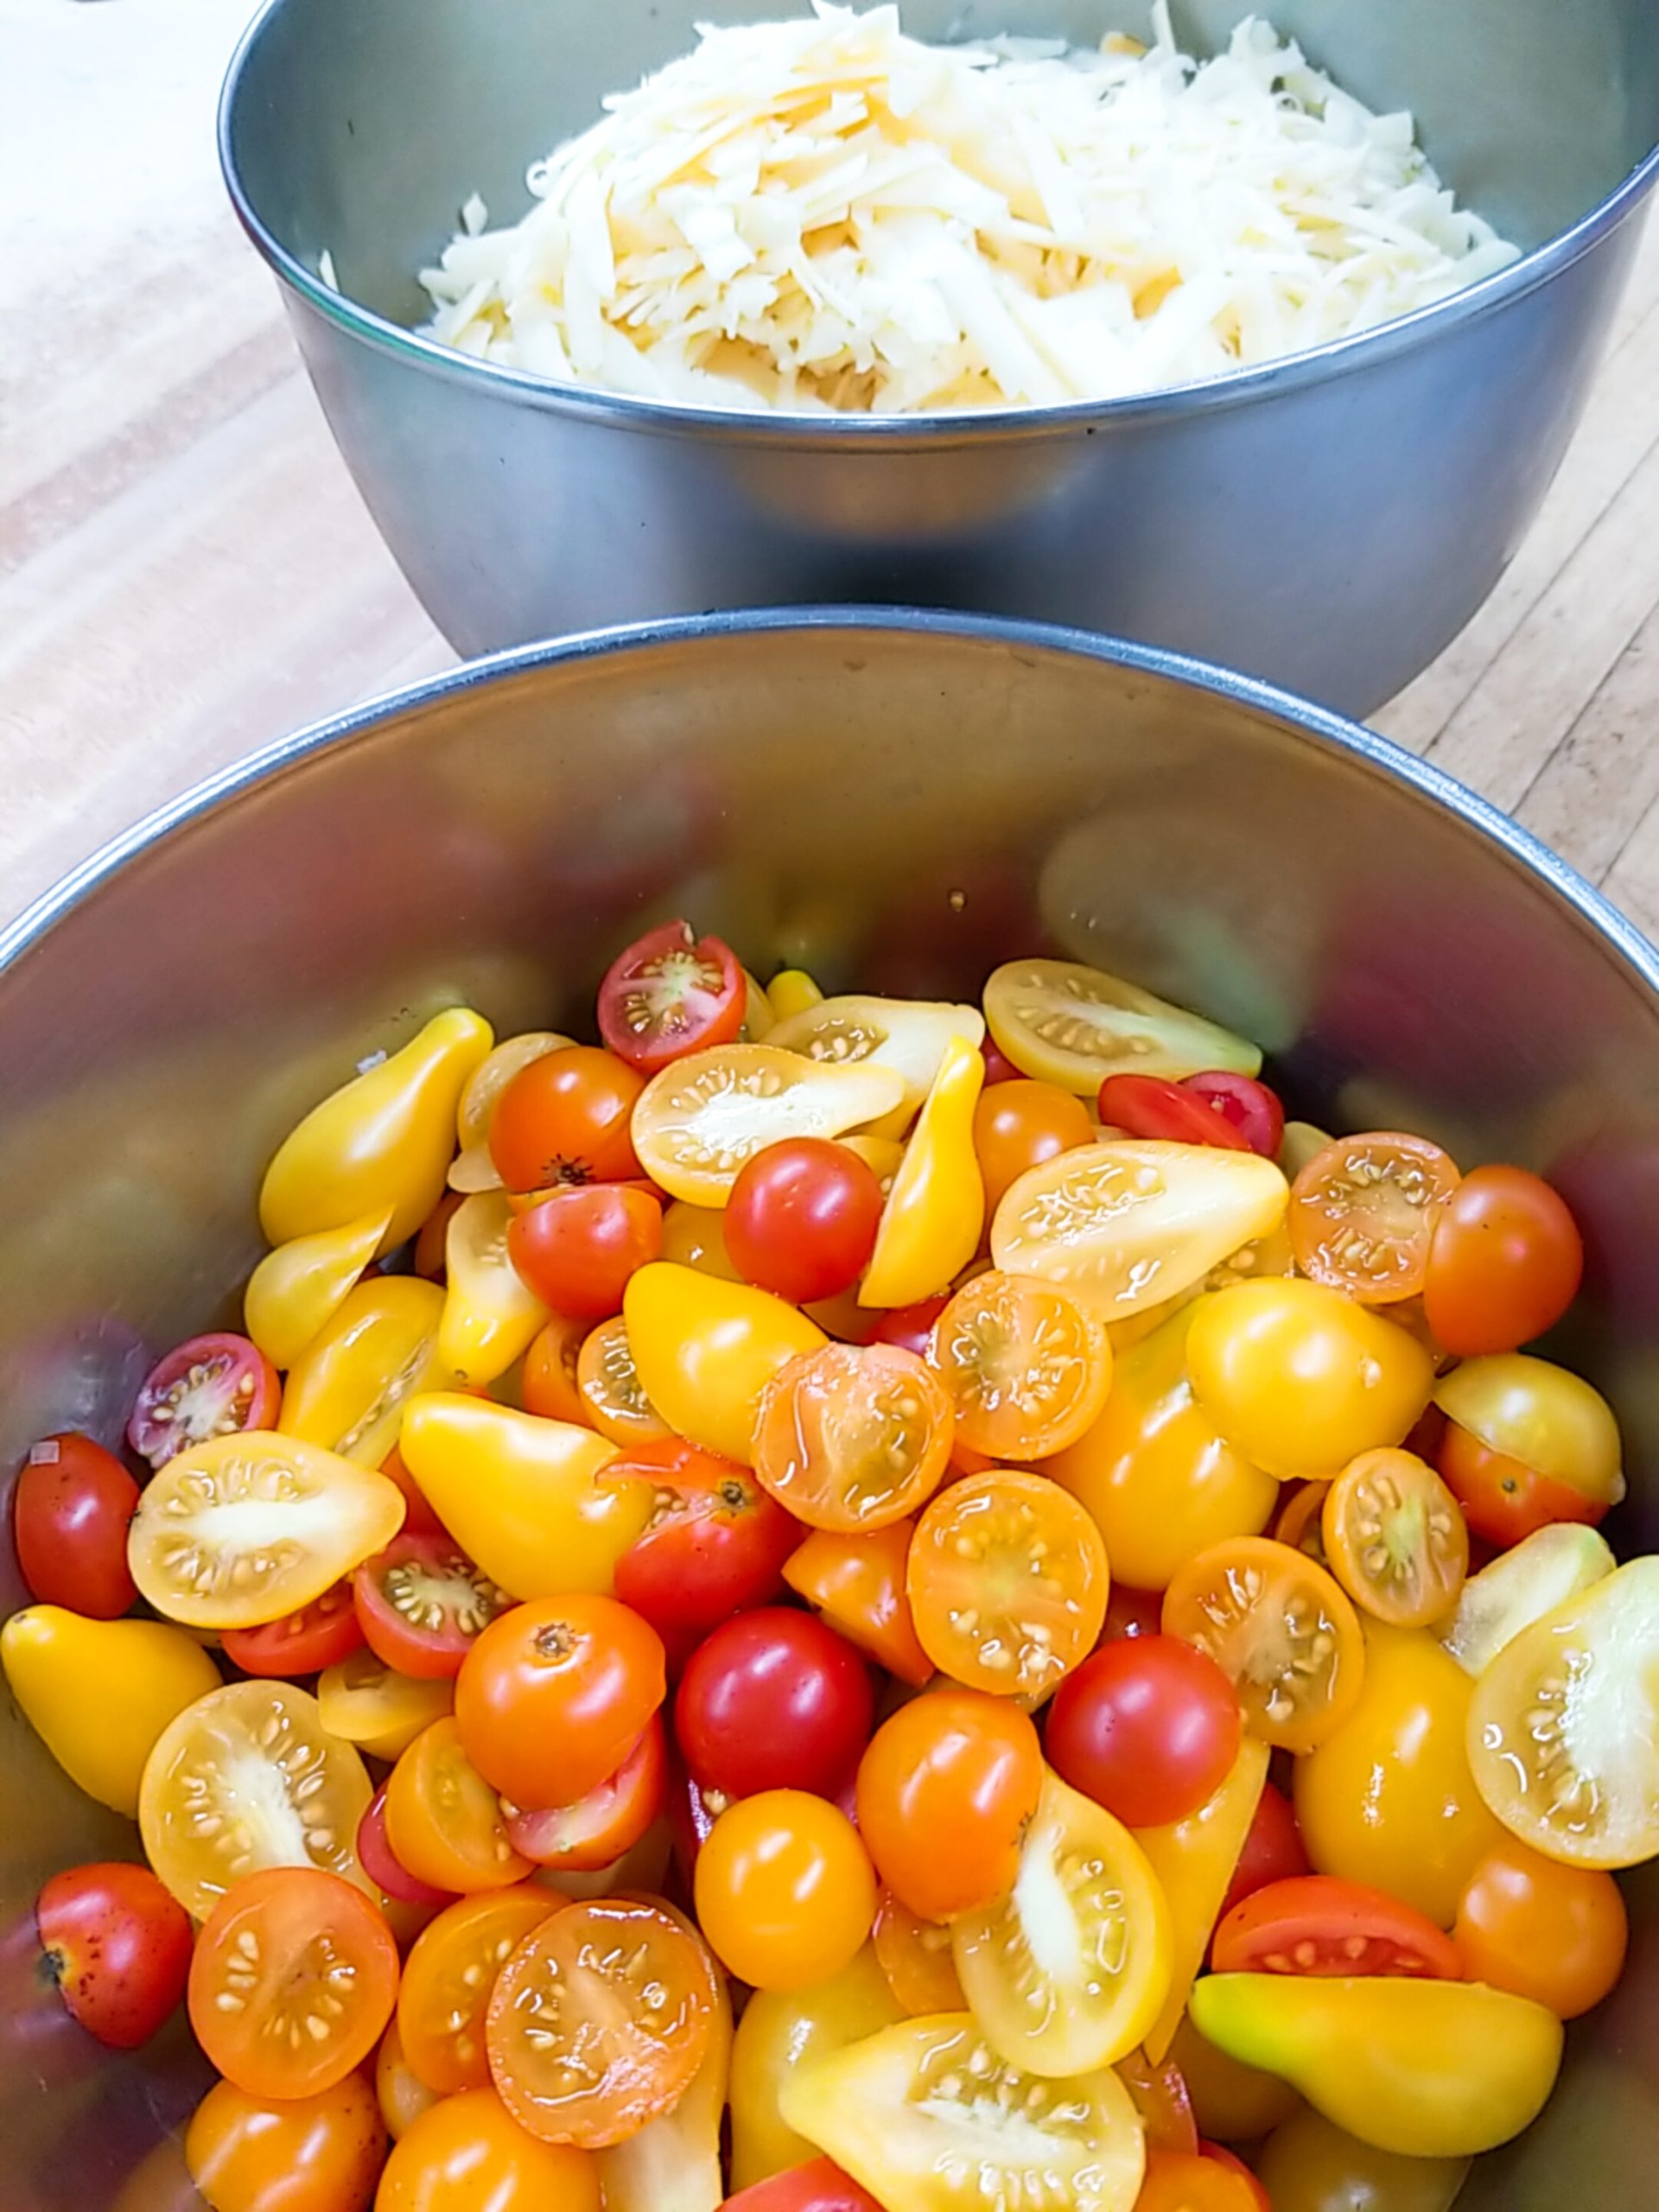
Each tomato has a slightly different flavor profile.
Tomato History
Food historians believe cherry tomatoes are a modern version of South American wild tomatoes. According to archeological evidence, Central American farmers grew the first domestic strains of these small tomatoes. The Incas and Aztecs farmed tiny pea-size fruit around 700 A.D. You may not realize that large tomatoes are actually a mutation of the cherry varieties. The first cultivated tomatoes were berry-small and housed only two cavities for seeds.
We do not know who gets credit for bringing tomatoes to Europe. The first description of small tomatoes in print appears in a 1623 illustrated book of plants. The fruits reached wild popularity in the 1970s when British chain Marks & Spencer worked with local growers and food scientists to develop a new cherry tomato that was very sweet and shelf-stable.
We hope you are enjoying a bountiful crop! If you have more tomatoes than you can use fresh, why not oven dry some of them? That is what we have been doing. These little flavor bombs are great for salads, pasta topping, or snacking. They burst with intense tomato flavor. And it couldn’t be more easy.
Oven-Dried Cherry Tomatoes
35 cherry tomatoes
1 Tablespoon of salt
Herbs, optional
Preheat oven to 200 degrees. Line a baking sheet with parchment paper. Cut tomatoes in half horizontally and place on the sheet, sides touching and cut side up. Sprinkle with salt and let sit about 30 minutes. Sprinkle with chopped basil, oregano, or parsley. Bake for 2 1/2 to 3 hours until the halves are about 3/4 of their original size and are deep red in color. You may keep them for a month or so in an airtight container in the refrigerator or they may be frozen.
August 10, 2020
Sangria Is A Perfect Summer Refresher
Several guests have mentioned how much they used to enjoy the Chef’s Inspiration Sangria as a weekend special at Buckhorn Inn. While current challenges have prevented us from serving it this summer, we are prompted to share recipes with you.

This fruity wine punch is perfect for a summer aperitif.
Sangria is a drink which originated in 18th century Spain. The original version used red wine, hence the name which literally means “bloodletting” in Spanish. The punch was poplar in colonial America, but largely disappeared in the States by the early 20th century. The iced version of the drink was reintroduced to the U.S. through Spanish restaurants in the 1940’s. It achieved a wider popularity during the 1964 World’s Fair in New York.
Each region of Spain has its own version of this wine and fruit punch. The traditional version is made with red wine with a variety of fruits and sweeteners. Spanish Rioja wine, made from the Tempranillo grape, is a good choice. Recently a version of the drink made with white wine has become popular. Any type of dry white wine may be used. http://www.foodandwine.com/drinks/
Red Wine Sangria
1/2 cup water
1/2 cup sugar
2 bottles of dry red wine
1/2 cup brandy
1/2 cup orange juice
2 limes, sliced
1 lemon, sliced
1 orange sliced
Club soda
Ice cubes
Bring water and sugar to a boil. Cook 3 minutes or until the sugar is dissolved. Cool. In a large pitcher stir together wine, brandy, orange juice, and sugar syrup. Refrigerate, covered overnight. A few hours before serving, stir in sliced fruit. When ready to serve, fill glasses with ice. Fill glass 2/3 with sangria and top off with club soda. Garnish with fresh fruit and mint leaves. About 12 servings
White Wine Sangria
1 cup water
1 cup sugar
2 bottles dry white wine (unoaked Chardonnays or Chenin Blancs are good choices)
1/2 cup orange liqueur such as Cointreau
1 lemon, sliced
2 limes, sliced
2 oranges, sliced
Club Soda
Ice Cubes
Bring water and sugar to a boil. Simmer 5 minutes. Cool. Stir syrup, wine and liqueur together, cover and chill. Before serving pour wine into a pitcher. Stir in fruit. Serve over ice, topping each glass with the Club Soda. About 12 servings.
These recipes make great starts for your own experiments with different wines and fruits. We would love to see the recipe you develop for your very own house sangria!
July 13, 2020
Celebrate Summer with Pesto
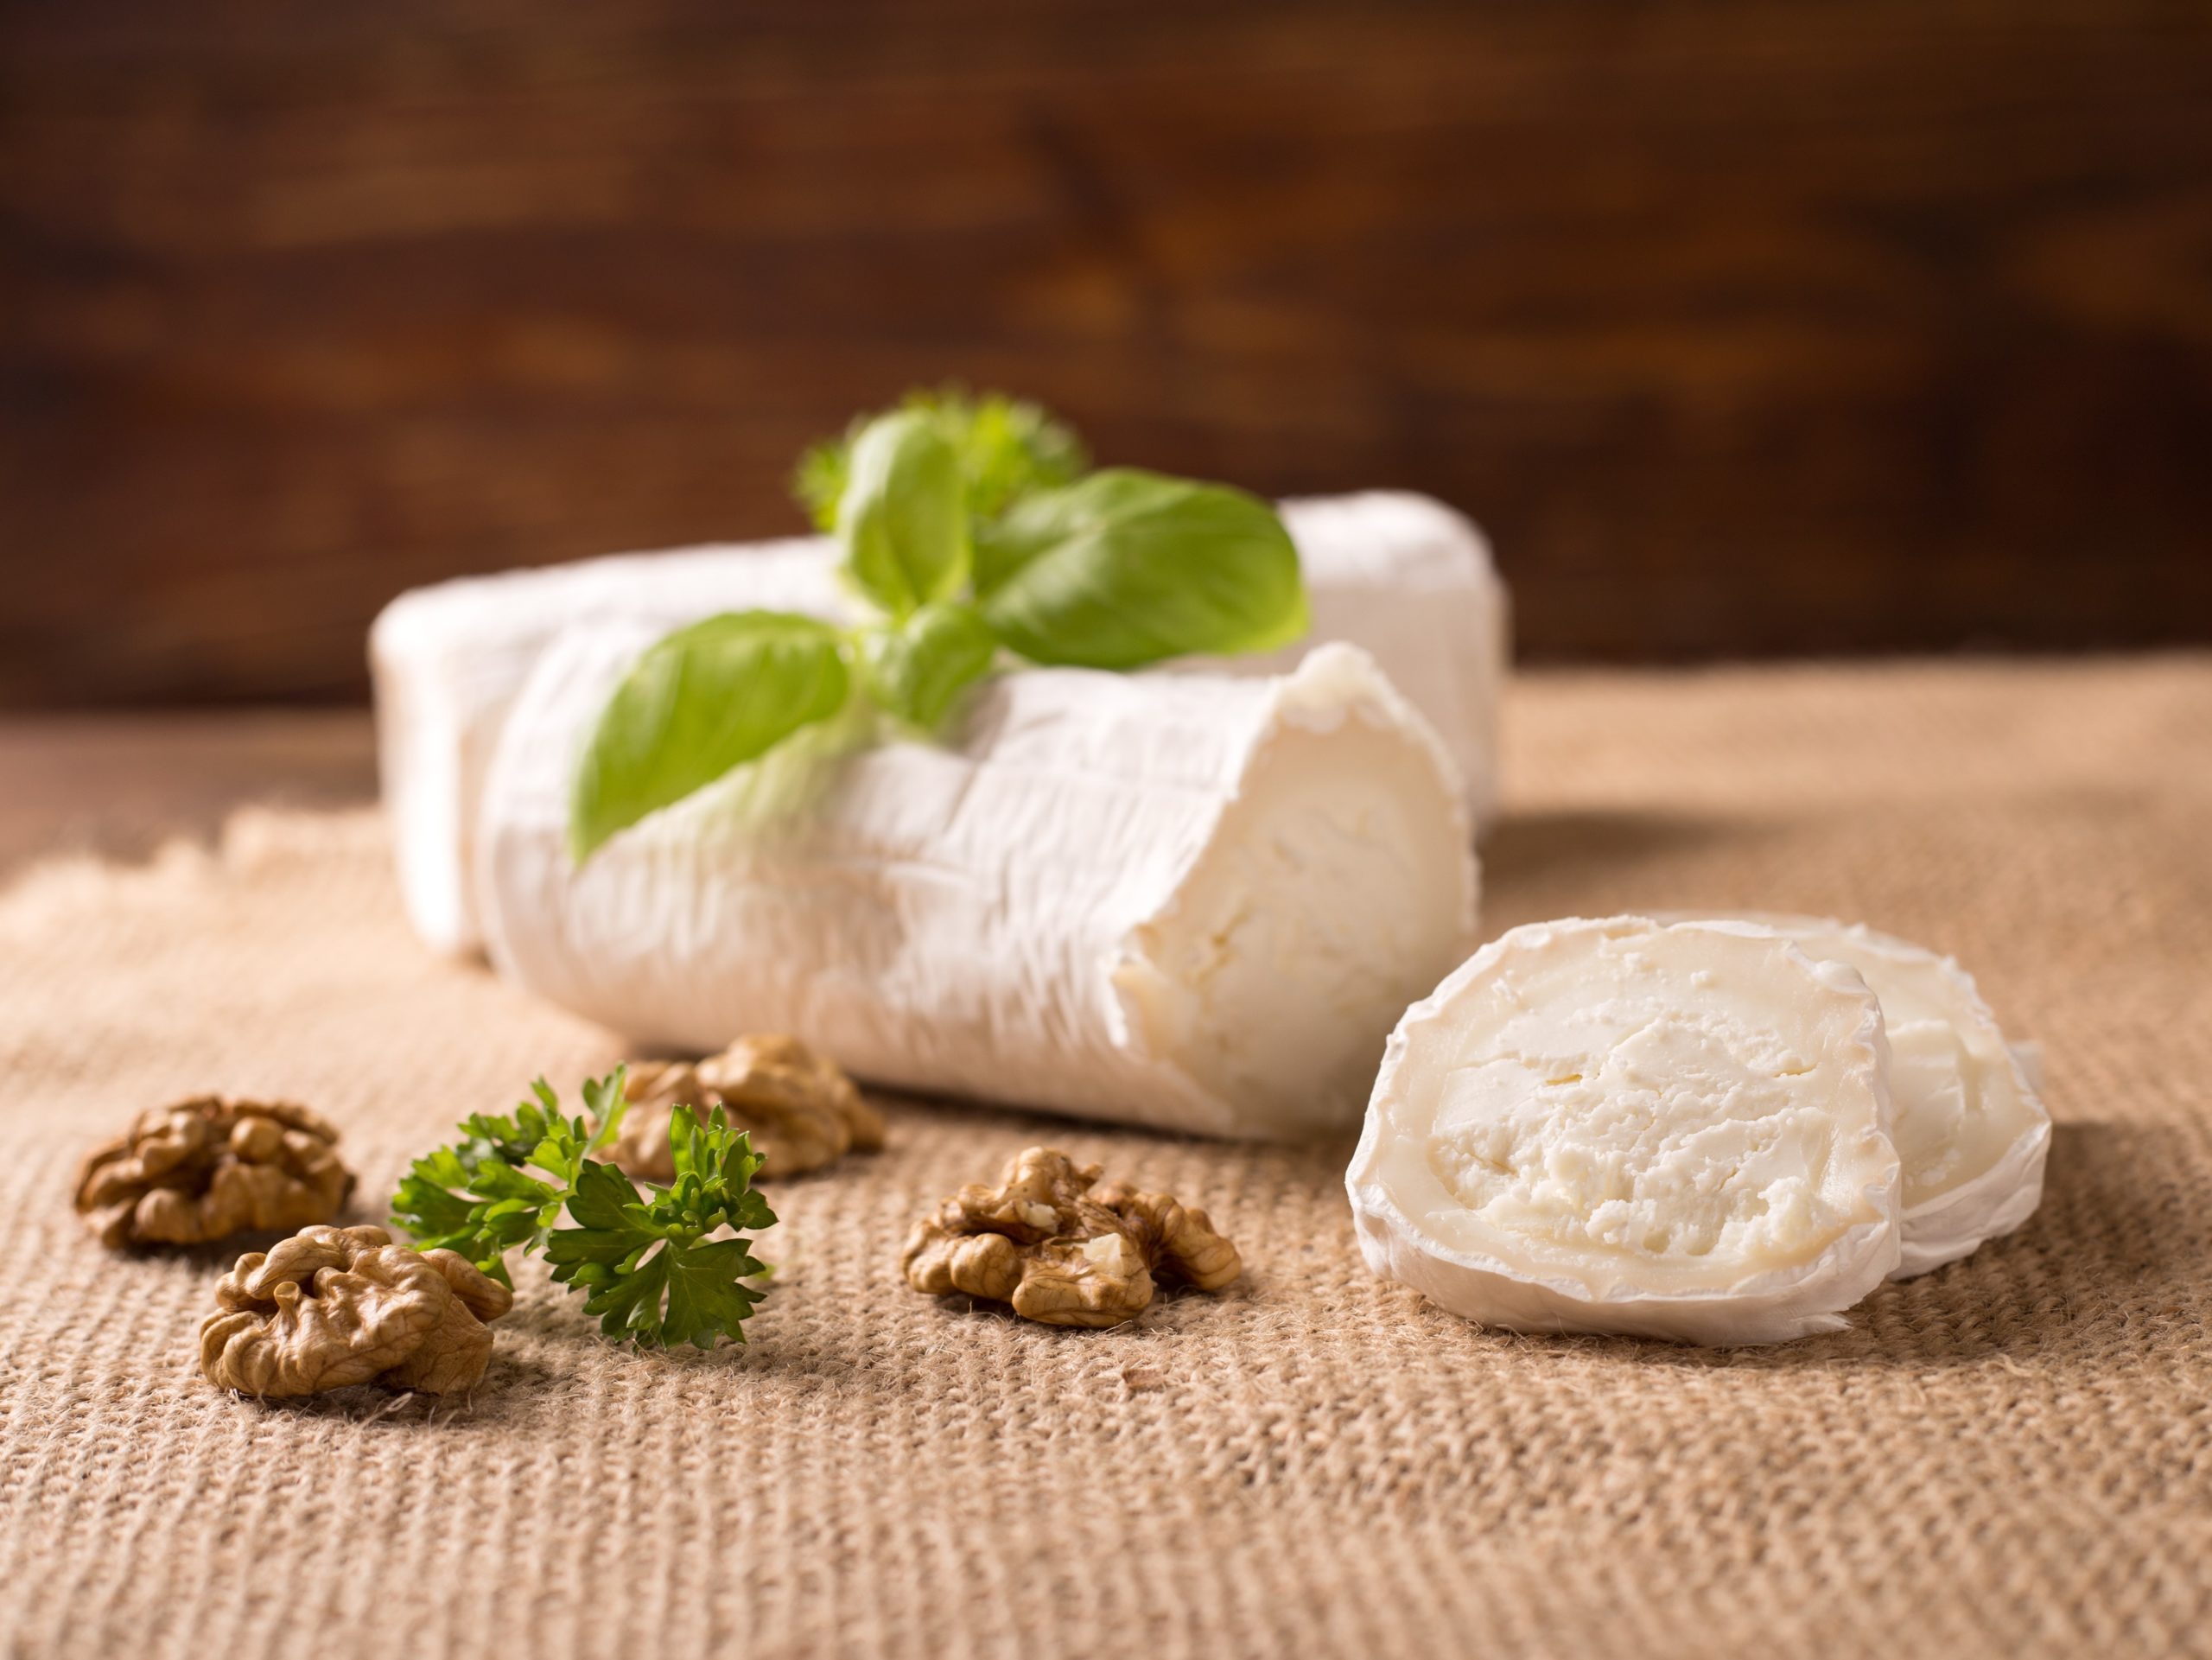
Fresh goat cheese in rustic style
This is the time of summer when the basil in our garden here at Buckhorn is ready to pick. Combining it with dairy creates the perfect appetizer for a summer evening out on the patio. This recipe is from the 1988 edition of Easy Entertaining with Marlene Sorosky. I have made it many times and served it with a variety of crackers. A good wine pairing might be an Australian sauvignon blanc. The green, herbaceous notes of the wine complements the pesto flavors and the bright acidity will act as a palate cleanser. This recipe serves 16.
PESTO
2 large garlic cloves, peeled
2 cups (about 2 ounces) basil leaves (note: if you blanch them a few seconds in boiling water and then plunge in ice water the basil leaves will retain their emerald green hue)
2/3 cup grated parmesan cheese
2/3 cup chopped walnuts
¼ cup olive oil
CHEESECAKE
11 ounces cream cheese at room temperature
¾ cup ricotta cheese (about 6 ounces)
8 ounces goat cheese
3 eggs, at room temperature
½ cup sour cream
To make the pesto, mince garlic in a food processor. Add basil, cheese, and walnuts and process until ground. Add oil and process to a thick paste.
To make cheesecake, butter an 8 ½” springform pan. Preheat oven to 350 F. Mix together cream cheese, ricotta, and goat cheese until well blended. Mix in eggs until thoroughly incorporated. Add sour cream and process until well blended. Pour into springform. Bake for 45 to 55 minutes. The top will be golden and the center will still jiggle. Remove to rack and cool completely. When ready to serve, remove sides of pan and spread pesto evenly over the top. Sun dried tomato strips make a lovely garnish. Sit back and wait for the compliments!
May 18, 2020
Why Are They Called “Salads”?
Today we picked a mix of beautiful greens for salads for our dinner guests. The bowl of colorful greens had us wondering about the origins of this dish.
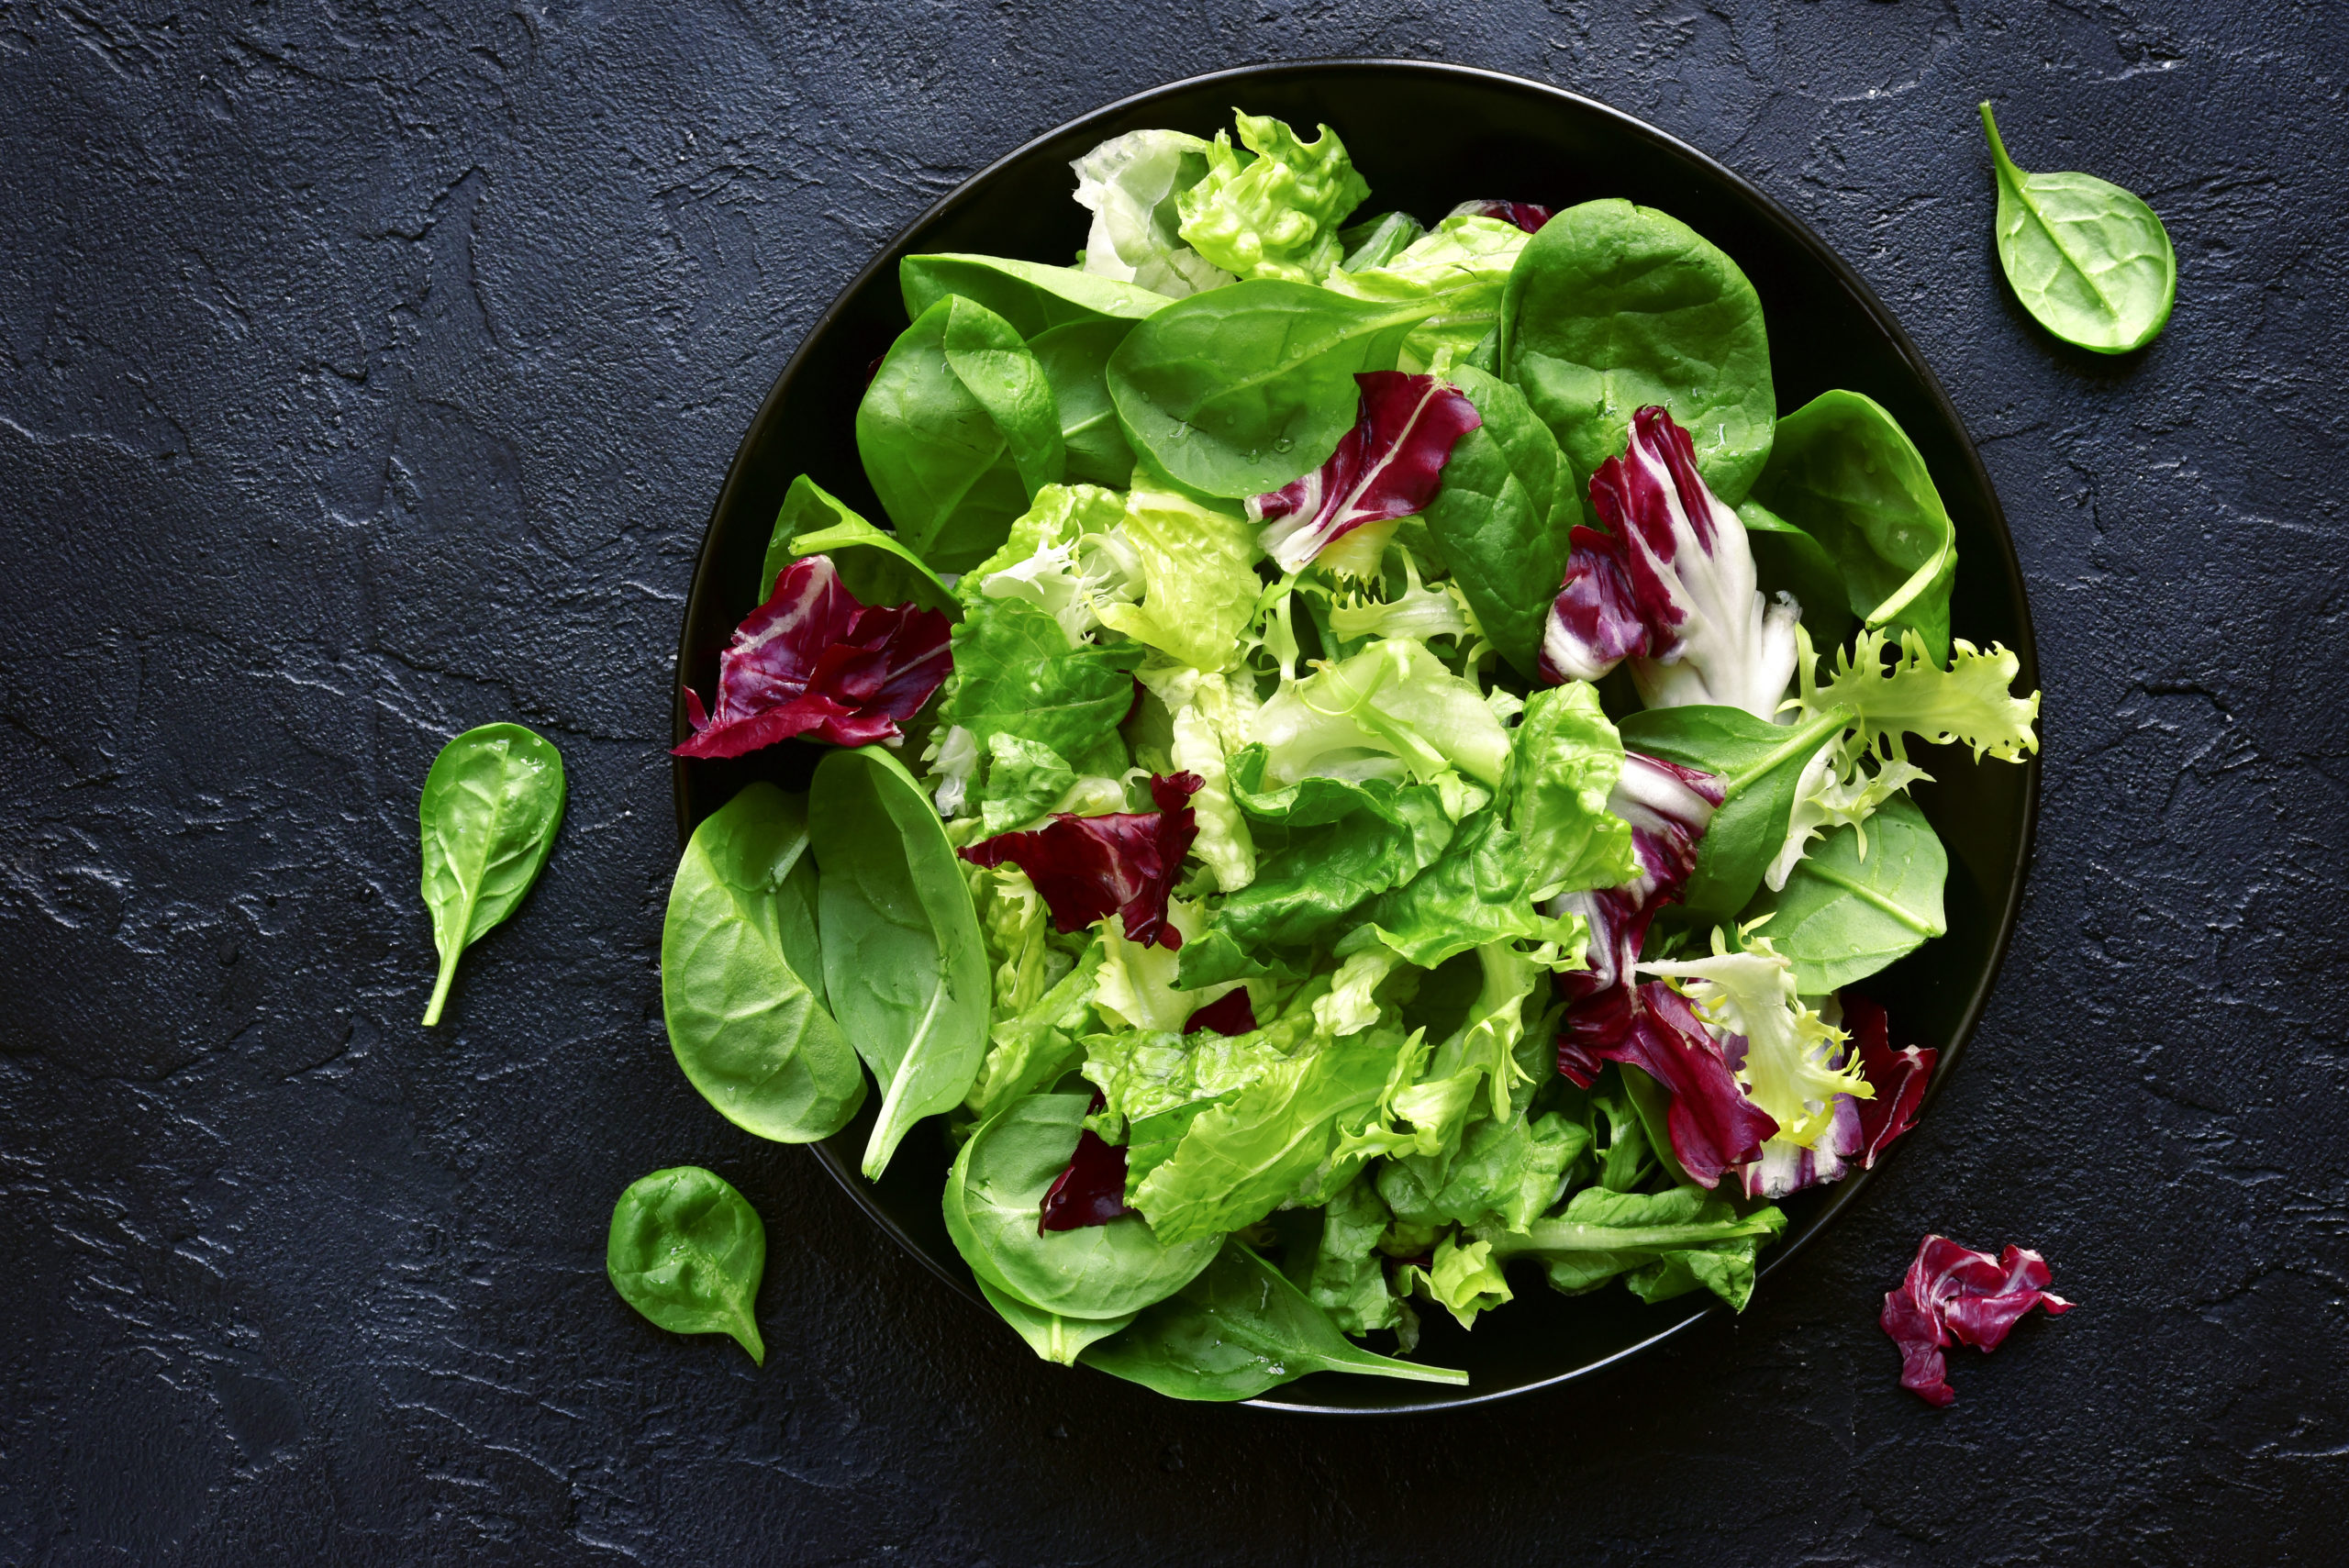
These greens only need a drizzle of a flavorful dressing.
The word “salad” comes from the ancient Latin word “sal” for “salt”. In ancient times, salt was an important ingredient in dressing. You might be surprised to learn that ancient Romans and Greeks enjoyed raw vegetables with dressing. Typically the vegetables would be dressed with vinegar, oil, herbs, and salt. “Salata” literally means “salted herb”. The dish became more complex over time. In the 1700’s chef’s began to create composed salads with layers of ingredients.
Today any entrée or side dish that is composed of a mixture of ingredients and intended to be eaten cold is a salad. Some recipes are world famous. Master chefs of the International Society of Epicures in Paris voted Caesar Salad as the greatest recipe to originate from the Americas in 50 years. The Cobb was invented at the Brown Derby restaurant in 1937. Crab Louie began appearing on menus at the turn of the 20th century. Nicoise features garlic, tomatoes, anchovies, black olives, capers, and lemon juice. It is named for the city of Nice, France. A private party for the pre-opening of New York’s Waldorf Astoria Hotel on March 13, 1893 led to the first serving of Waldorf Salad. http://www.whatscookingamerica.net
The recipe below could be the start of your own famous salad! Fresh mixed greens and vine-ripened tomatoes. Just add a drizzle of lemon basil dressing and you will enjoy a taste of summer.
Lemon Basil Dressing for Salads
¼ Cup Diced onions
1 Tbl Minced garlic
1 Tsp Dijon mustard
½ Cup Fresh basil leaves
1 Tsp Salt
½ Tsp Pepper
1 Tbl Sugar
¼ Cup Mayonnaise
½ Cup Lemon juice
Combine the ingredients above in mixing bowl of food processor.
Add slowly while processing:
1 ½ Cups Combined Olive and canola oil
Chill and serve over salad greens.
Yield: About 2 cups
March 2, 2020
Mulligatawny Soup is a Guest Favorite
Are you familiar with mulligatawny soup? It is new to many of our guests, but once they sample it, it becomes one of their favorites! Mulligatawny is a soup with South Indian roots. The name originates from a Tamil word and loosely means “pepper water” or “pepper broth”.
The original version made popular in Madras was vegetarian. It was originally prepared with peppers, hence the name. Indian cooks made the recipe to fulfill the British desire to have a soup course. It became popular with employees of the East Indiana Company during colonial times. In the 1800s British cookbooks began to feature many different variations on the recipe, some with meat. Several brands of tinned soup became available. The noted explorer Dr. David Livingstone took mulligatawny paste with him into the deep interior of Africa. http://www.livehistoryindia.com

A warm bowl of soup is perfect on a raw spring day.
Mulligatawny is a rich curried soup. The recipes have changed to suit differing tastes in Western culture. It is usually made with chicken stock, although vegetable stock may be used. Apples add a sweet/tart note to the vegetables. Almonds, raisins, and coconut milk are often added. Freshly grated ginger is best in this recipe although powdered ginger may be used. This soup blends British tastes with Indian spices. We hope you savor this delicious soup.
Mulligatawny Soup Recipe
|
|
|
|
|
1 |
|
Chicken, cut up or quartered |
|
3 |
Qts |
Water or chicken broth, unsalted |
|
4 |
Ribs |
Diced celery |
|
1 |
Med |
Diced onion |
|
3 |
|
Diced carrots |
|
3 |
|
Diced tart apples |
|
2 |
Med |
Peeled and diced turnips |
|
1 |
Med |
Diced tomato |
|
1 |
Cup |
Rice |
|
1 |
Tbl |
Curry powder |
|
1 |
Tsp |
Ground ginger |
|
1 |
Tsp |
Black pepper |
|
2 |
Tbl |
Salt |
|
1 |
Tsp |
Thyme |
|
1 |
Tsp |
Oregano |
Combine all ingredients in a stock pot and bring to
boil. Slow boil for 45 minutes. Remove chicken
from pot and let cool. Pick meat from chicken,
discarding skin and bones. Return meat to pot.
Cook until vegetables are tender. Taste and correct seasonings. Serve steaming hot and topped with a spoon of plain yogurt.
Yield: 10-12 servings
January 14, 2020
Steak and Mushroom Pie is a Comfort Food
A rich and meaty steak and mushroom pie is nourishing and comforting on cold winter days! It is possible that the ancient Greeks were the first to use meat to fill a pastry crust. According to http://www.houseofnasheats.com the dish was called a “coffin” in northern Europe. During Medieval times magpies were a popular filling and thus the dish became known as a “pie”. Early settlers brought savory meat pie recipes with them to North America. The Americans, however, used a much deeper dish. They called it a “pot pie”.
Steak pies are popular today in Scotland during Hogmanay, the celebration of the New Year. The recipe below is adapted from Jeff Smith’s The Frugal Gourmet Cooks American. He says this recipe is an Old English favorite that remained popular with colonists.

Fried potatoes and peas also are standard sides.
Steak and Mushroom Pie
3 slices bacon cut into large dice
1 1/2 lb. chuck steak cut into 1/2″ pieces
1 1/2 cups beef broth
1/2 cup Madeira wine
2 cloves garlic, crushed
1 lb, fresh mushrooms, lightly sautéed in butter
2 tablespoons chopped yellow onions
3 tablespoons chopped parsley
1 teaspoon thyme leaves
1/2 teaspoon sage
salt and pepper to taste
3 tablespoons each butter and flour cooked to form a roux
1 double pie crust
Preheat oven to 375. Brown the bacon and remove from the pan. Brown the beef in the bacon fat. Add enough beef stock to cover and simmer the meat, covered, for about 30 minutes. Add the remaining ingredients, except for the roux, and cook for 15 minutes. Thicken the sauce with the roux. Roll out the crust to make 4 individual pot pies or one large pie. Fill the bottom crusts and top with the upper crust. Bake for 45 minutes until the crust is brown and flaky. Serves four. As Jeff Smith notes, “A good dry wine and a big salad is about all you need to complete this fine English meal.”
“The Frug” goes on to suggest using this basic technique with other fillings. Perhaps lamb and artichoke pie? Or chicken curry pie? Maybe even a vegetable pie! The possibilities are nearly endless.
The team at the Buckhorn Inn is sending you wishes for a happy, healthy, and delicious New Year!
October 22, 2019
Pan-Roasted Pork Chops with Creamy Cabbage and Apples
Pork paired with apples is a classic combination. The apples contribute a touch of sweetness and flavor to the chops and match well with the cabbage. 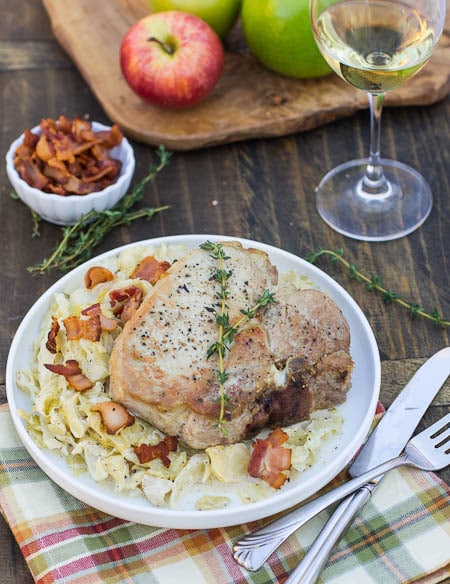 Mashed sweet potatoes would make a lovely autumnal starch to pair with this dish. Pour yourself a glass of Riesling and say welcome to fall!
Pan-Roasted Pork Chops with Creamy Cabbage and Apples
¼ Cup Plus 1 tablespoon olive oil
4 Thyme sprigs
1 Garlic clove, coarsely chopped
4 12-ounce bone-in pork loin chops
3 Thick slices of applewood-smoked bacon, cut into ½ inch dice
2 Tbl Unsalted butter
½ savoy cabbage, thinly sliced crosswise
1 Granny Smith apple-peeled, cored and cut into 1/2–inch dice
1 Tsp White wine vinegar
1 Tbl Dijon mustard
¾ Cup Heavy cream
¾ Cup Milk
Salt and freshly ground pepper
In a large, shallow dish, combine ¼ cup of the olive oil with the thyme sprigs and garlic. Add the pork chops and turn to coat with the marinade. Refrigerate overnight.
In a large skillet, cook the bacon over the moderate heat, stirring a few times, until browned, about 4 minutes; pour off the fat. Add the butter and cabbage to the skillet, cover and cook over moderate heat, stirring occasionally, until the cabbage is tender, about 7 minutes. Add the apple and vinegar, cover and cook, stirring occasionally, until the apple is tender, about 5 minutes. Stir in the mustard and cream and simmer uncovered over moderate heat until the cream has thickened, about 3 minutes. Season with salt and pepper, cover and keep warm.
Preheat the oven to 325 F. In a large ovenproof skillet, heat the remaining 1 tablespoon of olive oil until shimmering. Remove the pork chops from the marinade; discard the thyme sprigs and scrape off the garlic. Season the chops with salt and pepper and add to the skillet. Cook over moderately high heat until richly browned, about 3 minutes per side.
Transfer the skillet to the oven and roast the chops for about 12 minutes, turning once halfway through, until just pink in the center. Transfer the pork chops to plates and serve with the cabbage.
Yield: 4 servings

Gatlinburg Weather
Click for weather forecast